


 |
| closeup detail of the iridescent pattern |
In my brainstorming, my mind came back to my all time favorite blog, filthwizardry.com, and her post about using plastic bags as iron-ons. (http://www.filthwizardry.com/2010/03/iron-on-decals-from-plastic-shopping.html) She said that she got her inspiration from hearing that people iron plastic bags together to create fabric. What if I were to iron clear cellophane plastic together to make it thick enough to make a membrane-like wing?
I happened to have some red cellophane in my craft stuff, so I tried it. If you care to know how excited the result made me, ask my husband, who had to witness the giddiness. The layers of cellophane, placed between two pieces of paper, bond to each other and become thick, but they also shrink (how much depends on how long the heat is applied and how hot the iron is - it's kind of trial and error. As they shrink, the layers form these beautiful veins that look just like a dragonfly wing! I had only wanted the plastic layers to adhere to each other to gain strength - but the way that they formed patterns of veins that look so organic and insect-like was a delightful discovery!!
The next day I was at the dollar store and picked up a roll of clear and two packages of iridescent cellophane tissue squares. I am not sure what the difference is - I don't think there is any at all between the 'tissue squares' and cellophane rolls, but in the packaging that called itself cellophane tissue, it was colored, and that's what I wanted.
I cut out one layer of clear and one layer of color for each wing. NOTE: I found out the hard way that my colored cellophane had a right side and a wrong side - this was significant both for cutting and for ironing. Cutting all the same direction, just like cutting sleeves out of fabric, means you end up with all left wings, for example, and no rights. Also, the iridescent side had to face the clear cellophane or it would stick to the paper when the iron touched it.
 |
| cellophane wing before being ironed |
 |
| cellophane wing after being ironed |
 I cut my wings to the very edges of an 8 1/2" x 14" sheet of paper, because that's what I had on hand to put the cellophane between the sheets of paper for ironing. The wing shrunk about 1" all around. I did burn a couple wings figuring out how long and how hot to iron them - too hot and they melt completely; too cool, they bond without as many distinct veins. I'd like to try more layers to see how tough I could get them.
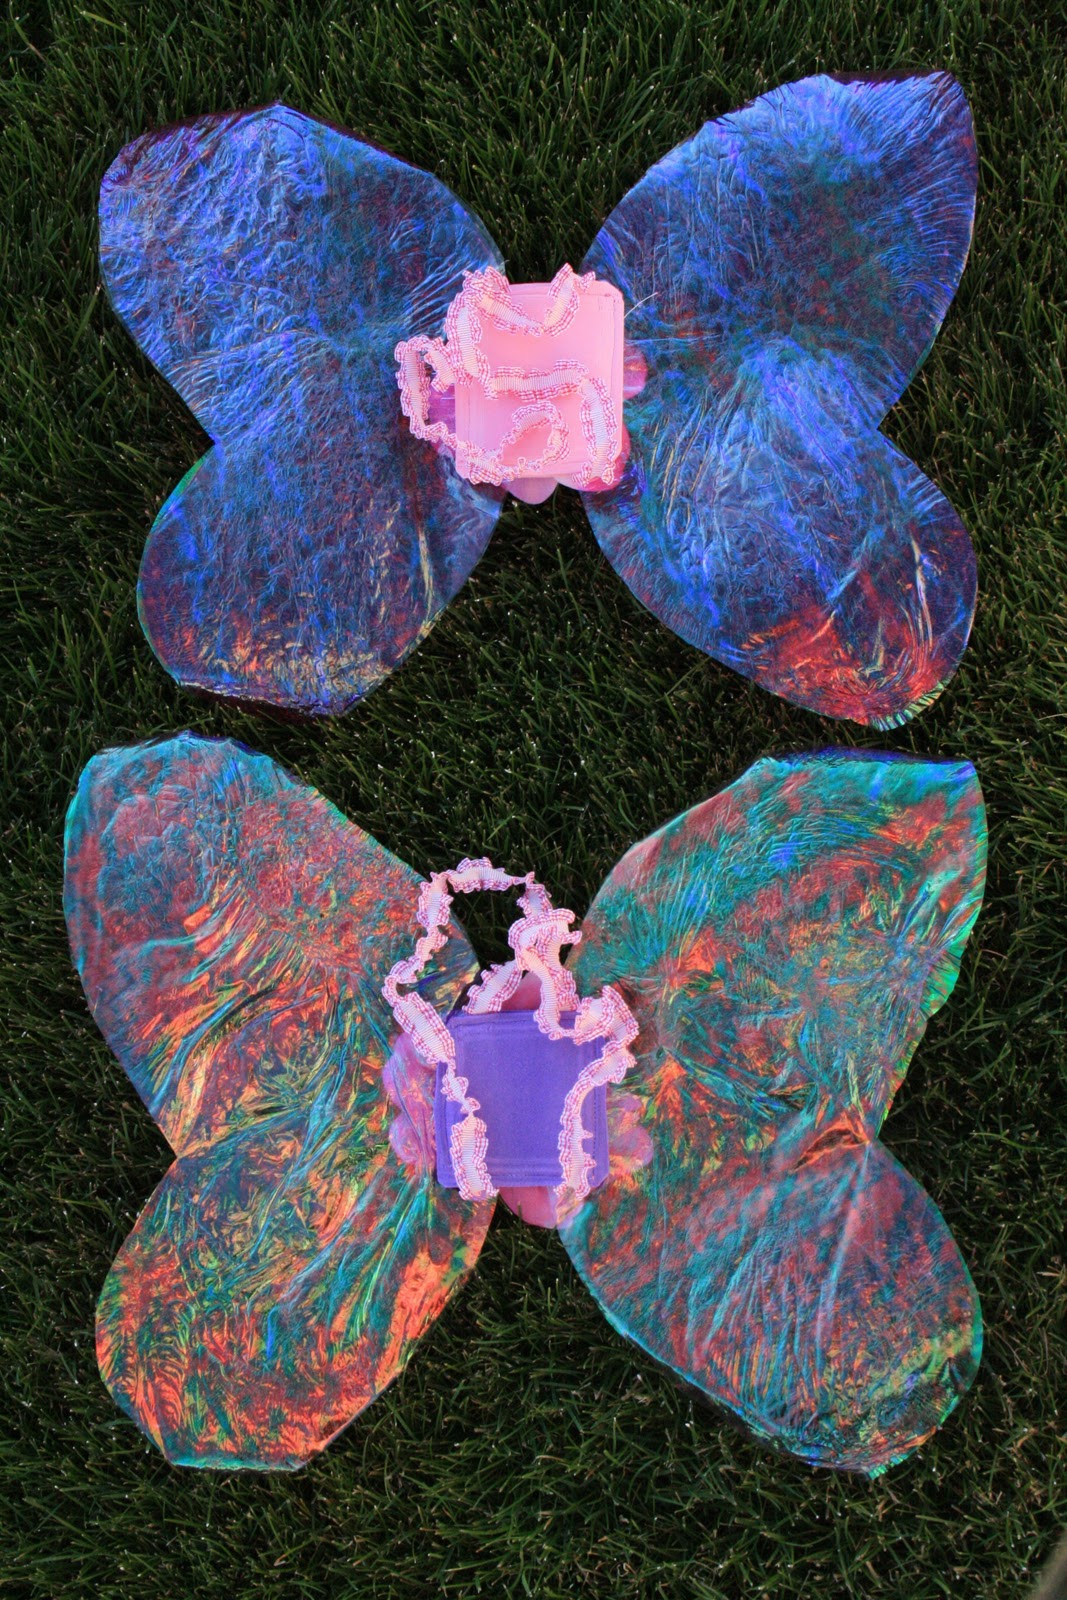
I'd also like to try to figure out a support system because as much as I loved how they fluttered in the breeze when the girls wore them, it would be fun to have them more controllable and stable. They are fun for dress up, but they'd also be great at medieval festivals and renaissance fairs :-) I just think they're beautiful! I feel bad because I just did not get pictures that do them any justice at all :(
Each separate wing was then glued between two squares of craft foam, with loops of cute elastic trim also placed there for shoulder bands. After they dried overnight, I sewed around on my machine to reinforce (I'm uptight like that) and glued on the flower and jewel. Done! Wings!


3 comments :
I found that gluing 3 pieces of poster board together, making a template of the wings AND veins, so it's not a solid piece of poster board, THEN ironing on the cello, one piece of cello for each side of posterboard (like a sandwich) makes them VERY, very, sturdy!! The cello will stick to the posterboard, so if you use black, for instance, it will turn iridescent, looking like iridescent veins! Just cut away the excess cellophane from around the wings and send your child flying in the field!!!! Hope this is understandable! Good luck :)
Hi Judy,
Could you elaborate on using the poster board?
Do you mean drawing the wing outline and the wing veins on to both sides of the 3-layer thick poster board?
Then ironing sheets of cello, one for each side of the posterboard?
And are you saying to use black posterboard or to use black ink for the veins?
Thanks!
They are beautiful! I think Judy means that you cut out the wing so you have just the frame of a wing, with gaping holes that will be filled by the cellophane. I didn't really get the black thing either though.
I'm going to try it with one of those store bought wings that my children ripped the nylon stuff out of.
Post a Comment