We LOVE fingerknitting at our house!  Ever since my fabulously creative sister Natalie taught my kids to do it, they have fingerknit ropes and scarves and had so much fun.  Recently we have become even more focused on its possibilities, and though there are gorgeous projects using yarn of various weights - from pillows to hats - the projects usually use yarn.  I've never seen fingerknitting applied to other materials in the way my crazy kids have! By their experimentation, they have inspired my imagination.  Really, now that I've started, I just can't stop!  What different types of materials and yarns can create different results to be used for super-fun projects?


classic fingerknit segment
made with variegated yarn
First off, let's cover classic fingerknitting for those of you who, like I was at first, are not familiar.   Sport-weight yarn, my kids like variegated, is a good standard material, and we prefer the 4 finger interwoven method of knitting.  I've seen several methods online lately, most popularly the "lines across" version, but weaving in and out between the fingers produces the prettiest result, in my opinion.

yarn bracelet - made double long to wrap twice
How difficult is it to fingerknit?  Well, the main drive behind our sudden resurrection of fingerknitting was an assignment for my first grader called, "show and teach."  She taught her 1st grade class to fingerknit.  Not only does she fingerknit herself with precision and ease, but the kids in her class made themselves bracelets to wear home.  (disclaimer: there were a couple of kids in class who NEVER picked it up, and some took longer than others, but in the end at least half had it down well)  If a 1st grader can do it, it can't be that hard, right?  It isn't!  It's super, duper easy!!  I wanted to post my 1st grader teaching how to fingerknit here, but my computer is behaving wonky and won't process my video, so here is a tutorial I like a lot instead: Little Bird School of Stitchcraft.  Maybe I'll get the video up sometime - it's really adorable.

So, with Chloe teaching her class, our family was all excited about knitting again - especially Lily.  And she came home with this sweet little bracelet.  She had decided to try two fingers only, and instead of knitting the whole thing, just knitting a few knots to make a central motif for the bracelet.  The yarn is cream with a gold thread running through it, and it makes an adorable piece of textile jewelry.

Her next brainstorm was for her little friend who was having a birthday party.  It was a horse/cowgirl party, and Lily wanted to make her a cowgirl necklace.  She used a piece of leather cord, with a 3 finger knit (weave in and around only 3 instead of the full 4 fingers), knit about 4 times to make the center knot, then she threaded wooden beads on either end.  I crimped on a jewelry clasp, and was actually quite jealous to give it away!  I would wear this myself any day!

The leather idea opened the floodgates.  I started fingerknitting anything I could get my hands on.  I saw a blog that added bells at regular intervals to her fingerknitting.  The idea of adding bells inspired me to try adding beads.  But I didn't want yarn jewelry, so I used cotton embroidery thread and glass beads.  I adore the results!  This bracelet uses a 3 finger knit.

Barrette fingerknit with 1/4 inch ribbon.  4 finger knit.
Back side of barette, glued.  Loose ribbon ends looped under.
Ribbon and lace for hair accessories made me giddy!  More pricey than yarn, I opted to just do a little amount of ribbon to try it out, and made a barrette.
Barrette in my 4 year old's hair.

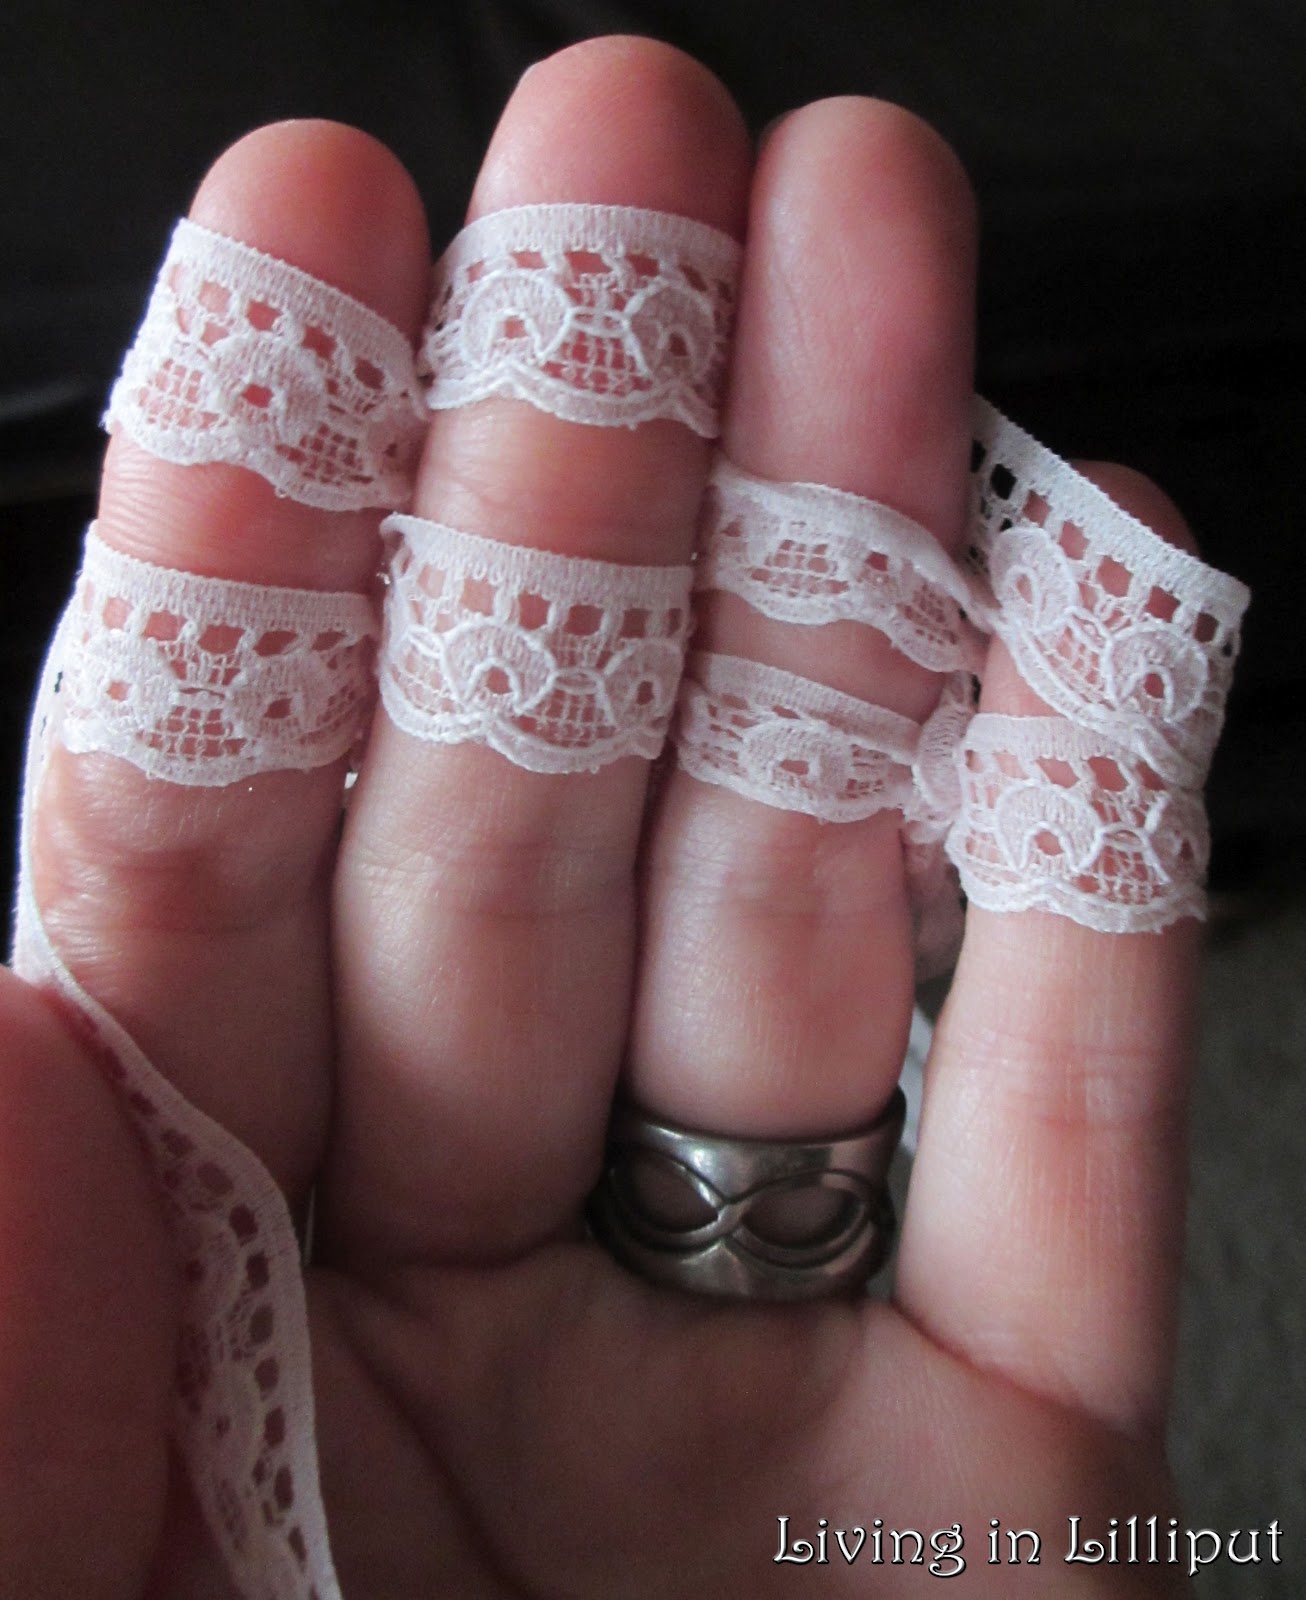
Fingerknitting with lace
But I happened to have a whole spool of a pretty antique vintage pink lace, so a headband it is!  The complete joy here is that fingerknitting stretches - the knots are flexible - so this headband fits super-comfortably and yet is sweet, vintage and so feminine!  I can't wait to make more in different colors!
Lace headband using 4 finger knit.
I adore the way the lace knit up! I knit the area from ear to ear, then left lace trailers on both ends to tie underneath so it wasn't too bulky at the back of her head.  The stretchiness means it fits any of my girls comfortably.  So pretty!  And it would be easy to clip a flower or bow on for variety.
Necklace Lily made from rainbow variegated cord
and a very loose 2 finger knit.


Yarn itself is still a great option though.  Lily makes crazy things like this fabulous snake with tons of personality.  Glued on googlie eyes and marker-colored tongue (just the trailer left from the end of the knitting) make a silly little home-made toy.  He pops up in the strangest places throughout the house.  Scarves are fun too - my kids like to knit three different colors and braid them together for a pretty scarf.  They make jump-ropes and belts and headbands.  Necklaces and bracelets and slings for their dolls.  It's quite amazing how far a skein of yarn can go when paired with a child's imagination!


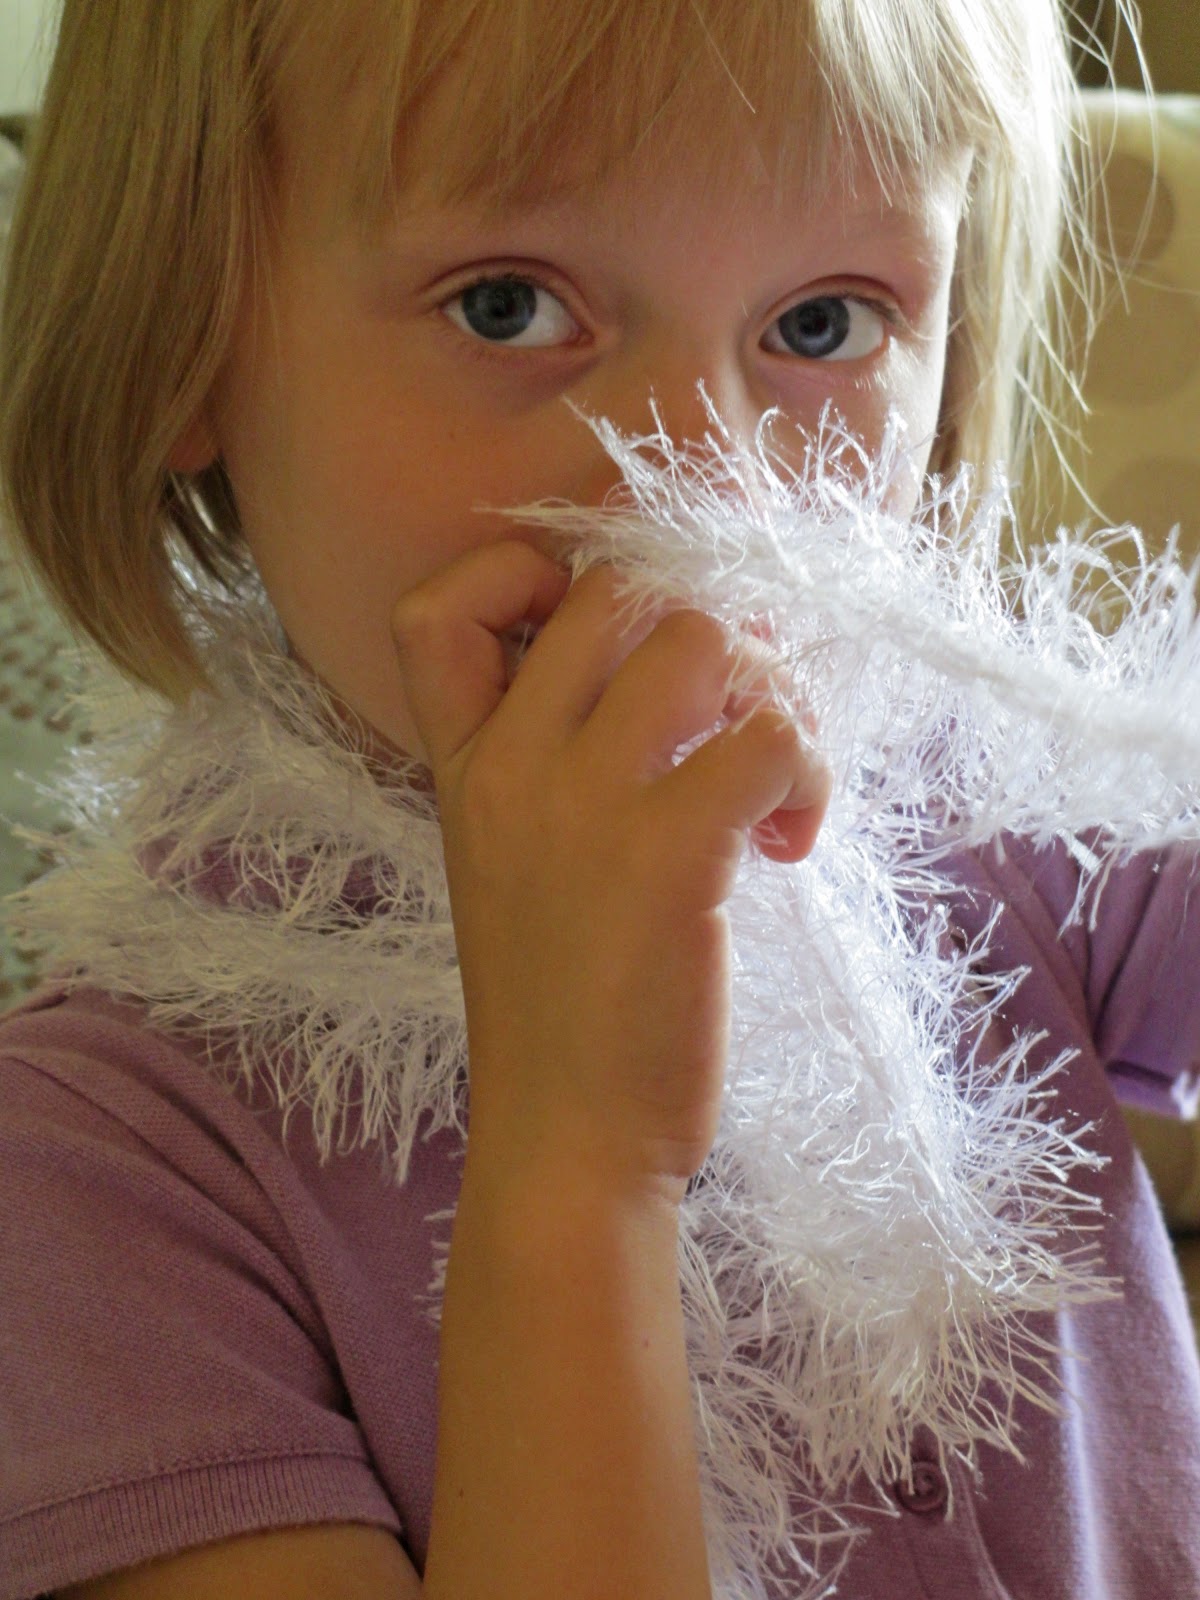
But my favorite project made out of yarn doesn't actually look like yarn!  Softer than the real boas that have sharp feather bits, these scarves are so rock-star!  The yarn is referred to as eyelash yarn, or sometimes fun fur.  It does look an awful lot like eyelashes too!  Individual strands do not look nearly as fluffy as it turns out being either.  The strand looks kind of spindly and pathetic, and like it would tangle and be a pain to knit.  NOT at all!  VERY easy, very fun!  I had some white, so that's what we used when we decided to try it, but it comes in a wide variety of really great colors!  A bit of a warning though.  The only other color I tried was gold metallic, and maybe someone smarter than me would have guessed, but it turned out looking EXACTLY like Christmas tinsel.  Not great.  I plan on avoiding metallics in all variety in the future.
As gorgeous as the eyelash yarn knits up, surely there are MORE possibilities!  Of course there are!  Eyelash yarn also turned into the mane and tail for a plush horse I sewed (Lily fingerknitted the mane & tail - I did the sewing - pattern found here).  I love the softness without any risk of shedding.


And a few months back, when I volunteered to help out with the Chinese New Year celebration at the school by sewing a Chinese dancing lion for their parade (yep, I am that crazy), and I couldn't afford fur or boas to trim the "mane" part of the lion costume, who fingerknit 15 yards of fuzzy trim out of eyelash yarn?  Yea, that'd be me.  It looked really cool!

Chinese parade lion for school.  I sewed the body and fingerknit the white trim & tail.
 I give major props to the amazing artist who did the paper mache head!  Amazing!


I owe this post completely to two people.  The first is my creative sister, Natalie, who one day introduced my kids to something I had never heard of...she called it fingerknitting.  Some of my kids were more intrigued than others, but it has proved to be a fabulous pass-time for traveling and conference and such, as well as a fun craft.  

But for a year, fingerknitting was on-again, off-again at our house.  We made scarves at Christmas, and ropes or belts whenever the kids wanted those.  It wasn't until recently, when Lily started getting creative with different materials, that my mind began to be completely blown by the possibilities fingerknitting offers!  So my 9 year old craft genius Lily is the second person to whom I dedicate this post.

So, there you have it.  Fingerknitting is a TON of fun, and the sky is the limit.  I already have plans bubbling over for more experiments.  Please send me pictures of anything you're inspired to try after reading this post - what can you come up with to fingerknit?
See that smile on that tired little face? That is the look of pure accomplishment!  The other night it was 97 degrees outside, and Lily came out of her room wearing polar fleece PJs.  "Go put something cooler on," I begged, "it makes me feel hotter just looking at you!"  Lily teared up a little and said, "these are the only jammies I have."  Bad mommy.

How do we solve this? Sew some pajamas, of course!  I told Lily that she could go through my fabric and we'd pick a pattern, and I'd even use this chance to let her sew them herself and teach her.

She did not believe that we could get it done by bedtime, but I had an ace up my sleeve.  I knew that I'd bought some pre-smocked fabric that she'd love on clearance ages ago and it had just been sitting there in my "To Sew" pile ever since.  Lucky for me, she did love it, and so it was a simple, simple matter of cutting her width around, sewing a seam up the back, making and adding shoulder ruffles (go scrap-box again - pre-elasticized trim meant super-easy!).

As a nightgown, it was pretty short, so we decided to make some shorts out of the same fabric we'd scrounged for the shoulder ruffles.  Nothing teaches basic sewing like the elastic-waist jammie pant!  Lily was over the moon!

It was a great, proud moment to start what I hope will be a passing down of a sewing tradition.  We had fun, and even though it took about three hours where it would have taken me maybe half an hour, it was worth it.

Just as I was basking in the glow of a mommy moment well-taken though, Lily's enthusiasm bubbled over - "and when I'm done with these we can make some just like it for Chloe, and then for Evey, and maybe I can take over and make the Christmas jammies this year, and...and...and."  And from the other side of the house, Chloe (only 6 years old) chimes in, "OH NO, you're NOT making mine! As soon as you're done, mommy is going to help me make MY OWN!"

All I could think was, "if you give a mouse a cookie..."

What I said was, "let's live in this moment right now and enjoy what we're doing now, ok?"

Because, truth be told, moments like that don't happen often enough.  Even if I try to plan them.  It was a lovely evening when all the planets aligned for a beautiful shared night of sewing.  Next time, I might be busy, or they might be cranky, or any number of things might not work out - because that is the daily experience.  Other moms, I'm convinced, always do perfect mom-things with their kids, but I can't seem to settle to what that means.  I sew for them, and the whole time think I should be crafting with them.  I do the laundry and think I should be reading stories, I read stories and think I should be doing laundry. Constantly at odds, constantly conflicted.  But now and then a magical moment does happen - even to those of us who feel like we never can do enough and are always a day late and a dollar short in the mom game.

Every time Lily wears her jammies she made herself I'll remember magic is possible, and I'll try harder to make sure I reach out and grab it when it comes.


 Any outfit is made cuter with the perfect accessories, as any girl can tell you!  So whenever I design, I keep unique accessories in mind as well.   Antique lace rose barrettes and headband are obvious for vintage lace dresses, but what could possibly go with nautical?  When I saw the craft cord at Hobby Lobby, I knew the answer instantly - Nautical Knots!!  It took a few attempts, but I am in love with the results.
Here I'm sharing how to make nautical inspired nautical hair accessories of your own, but more than that, sharing the message that accessories can go beyond flowers and bows or whatever is trendy - unique, themed accessorizing can be as vast and diverse as imagination, and just as much fun!


Now, a sane person would have bought a wide enough headband to serve the purpose.  I, however, already had some cheap, thin headbands, so why purchase when I can just modify?  A little time and creativity, and VOILA!  a headband just the right shape to be the base for my nautical design.
After the headband is covered, the next part is the knot.  I looked up "nautical knots" and settled on the Carrick Bend for looks.  It takes two strands of rope, which twine around each other.  I learned to tie the knot from the excellent tutorial here http://www.animatedknots.com/indexboating.php.  It is important to skip the final step in that tutorial: tightening the knot!  It must be left loose to achieve the proper look.  Otherwise you end up with a super strong sailor hitch, but you probably wouldn't want to wear it :)
My first attempt at a knot for the headband wasn't very good.  I used the 2 largest ropes, hoping for a more dramatic knot with a high profile.  It looked really dumb.  She wore it on Easter, but I hated it and tore it apart the first chance I got.  It was too thick and inelegant.  I started over again with the thinest rope and LOVED the results!  The biggest difference was that with the thick rope, I was only able to lay the remaining ends side by side along the length of the headband on either side of the knot.  With the smaller rope, however, I was able to glue the extra ends in a sort of figure 8 pattern, reducing in size, until the end of the headband.  This was visually more interesting and elegant.  Bigger isn't always better :)


As for the barrette - I used the exact same knot - the Carrick Bend - and it is simply mounted to a barrette instead.  
I started with a simple alligator clip, and covered it in navy grosgrain ribbon using E6000 glue.
Using the small rope again, I tied the Carrick Bend knot, which left me with 4 dangling ends, as you can see.  With two on opposite corners, I tied knots in the ends, and left them dangling.  For the remaining two I looped them around and glued them underneath, forming an additional loop on either end of the Carrick Bend, making it a little longer and fancier looking while still maintaining the nautical knot theme.
 The final result is a complete themed look.  I could have just put a blue or yellow headband on, I guess - and it would have been just fine.  But how much fun I had doing these!  And now, though I live in a landlocked state and will likely never need the knowledge, I know ONE sailor knot!  Yay!


For Easter this year, under pressure from how much I loved last year's dresses, I decided to turn to one of my most prized possessions: a collection of vintage sewing patterns that my Grandma gave me when her arthritis made it too difficult for her to sew any more.

 I love these old patterns for several reasons. First off, they don't skimp on anything. There is an assumption of quality over quickness that most patterns now choose to reverse. Quick, boxy, and as simple as possible is today's rule.  But these old patterns use lining when the shortcut would be a turned under hem, stuff like that.  Speaking of hems, the girls' dresses call for a 2 to 3 inch hem that gives a gorgeous weight to the bottom of the skirt!! The skirts are always gathered in SO tightly that I always wonder if I'm going to actually be able to get it all in around the waist. My girls notice & appreciate the difference immediately in the twirl-ability of the magnificently full skirts!

 Second, these patterns fit my girls' bodies. Most contemporary patterns I have to modify for my tall, thin girls. For my oldest girl, who is nine years old, for example, I usually cut a size 5 or 6, then use the size 8 or 10 length in order to get it to not drown her in fabric. These older patterns just seem to assume a slimmer build throughout - from shoulder breadth to arm diameter.

Pattern used for the Classic Sailor Dress - FANTASTIC pattern!
There are drawbacks, however, to using the older patterns. They are, typically, more difficult. Not just because of the level of quality, but also because the directions are obscure and vague. Instead of step-by-step, assuming any sewer may be a novice, these patterns will include steps such as "attach cuff to bottom of sleeve," without any picture, diagram or further instruction. How does the cuff attach? Is it right sides together? It folds back on itself, how is that achieved without showing the raw edges? I find myself pinning and visualizing a LOT as I try to negotiate steps that the instructions assume I already know how to do. But is it worth it? You tell me!


 For my youngest, I chose a classic Sailor dress with the main flair being the bright yellow.  Evey's favorite, favorite color is yellow and she begged and pleaded for a yellow easter dress.  When I found this gorgeous deep sunshine color, I was happy to oblige. I love the yellow with the traditional blue & white of nautical styling.

I'm often asked about fabric choices for dress sewing, so here is a quick thought.  I LOVE a poly-cotton blend for little girls' dresses.  It is harder and harder to find in this world of 100% cotton for quilters, but it washes like a dream, never ever has to be ironed, and doesn't seem to hold on to stains.  It is my go-to fabric for any dress that has gathers or pleats.  Now, it isn't fancy - so it won't do for flower girls' dresses or special occasion if fru-fru is desired - but for a good ol' bright, easy to sew, easy to wear, fabric, I love my simple poly-cotton, which is what this dress is made out of.  The yellow, navy and white are poly-cotton (also used the white for a sewn-in slip).  The striped inset is one of those crazy "unknown content" bolts.  So far it seems to be ok.  I also used grosgrain ribbon for all the trim.  I love grosgrain for the way it lays flat and cooperates.


My great joy on these dresses was the silly navy & white stripey buttons, which I found in my sewing drawer.  Just a lovely serendipity.  No idea where I originally purchased them. They appear on the front of Evey's dress, on Chloe's belt, and down the back of Chloe's dress.

For Chloe, I opted for a truly vintage look.  The cornflower-blue fabric (again, a simple poly-cotton) was perfect for the retro-feel, and enabled me to coordinate the girls' outfits without having them actually match.  I didn't want the square sailor collar, so I got creative.  Had to combine a couple of patterns to get the look I wanted, but that's less unusual for me than making a dress with just one pattern!  I did have to improvise the cuffs and tie myself, but that wasn't hard.  Chloe wanted me to keep the skirt longer than the pattern called for, so I didn't get the big, deep hem the pattern called for, but I agree with her that the longer skirt gives it a charming look.


Finally, for Lily, since she's the oldest, I wanted something a little more mature while still being little girl.  I browsed ideas online and found a lady's pattern that inspired me to create this more contemporary dress that, while not a sailor dress, still has nautical elements.  Again, I had to use a couple of different patterns to get what I wanted, but no vintage patterns for this one. Working with stripes makes me want to pull my hair out by the roots - especially when I didn't have much to work with and kept cutting the pieces the wrong direction, but it all worked out, so... *big sigh*.  I doubled the skirt with just an inch difference, and added white grosgrain ribbon trim along the edge, which is sweet and gives a lot of movement.  As tall and thin as Lily is, I think the dropwaist is perfect!!
Of course, the original intention of the dresses was for Easter (though they made for darling pictures at the lake, too!  Bonus for mommy!).  Here are some pics of how they performed on the big day.  Note how adorable Chloe was with Easter gloves - one relative commented that she looked like she belonged as a permanent resident of Main Street, USA at Disneyland :)

So cute with gloves! Very proper!
And of course, I do have the boys as well.  I don't sew much for them any more (though I did have to alter a ridiculously long tie recently - that was a feat!), so they don't really get featured here on the crafty blog, but they did coordinate and look fabulous and get their pictures taken a lot too.

And lest my pictures make anyone think that my kids are always prim and proper and well behaved and perfect... REALITY:


© 2012. Design by Main-Blogger - Blogger Template and Blogging Stuff